An antler light need not belong to winter. A calm permanent scheme, a few movable elements and well-planned...
- There are no more items in your cart
- Shipping
- Total £0.00
The Antler Light Test: What Product Photos Cannot Tell You
Search results for antler lights for sale uk-wide can make very different fittings appear deceptively similar. Against a plain product background, a compact ceiling light and a substantial chandelier may share the same branching outline. Once installed, however, their width, depth, lamp positions and visual weight become much harder to ignore.
The safest way to buy is to treat the photographs as an introduction rather than proof. A convincing choice must work from several viewpoints, fit the available ceiling space and remain practical to clean and relamp. Before being swayed by a dramatic room set, collect the less glamorous information that determines how the fitting will behave at home.
Interrogate the product listing
Start by checking whether the listing shows the light from the front, side and below. Each angle answers a different question. The front view reveals the overall outline, the side view exposes body depth and lamp projection, and the view from underneath suggests what will be visible from a chair or dining table.

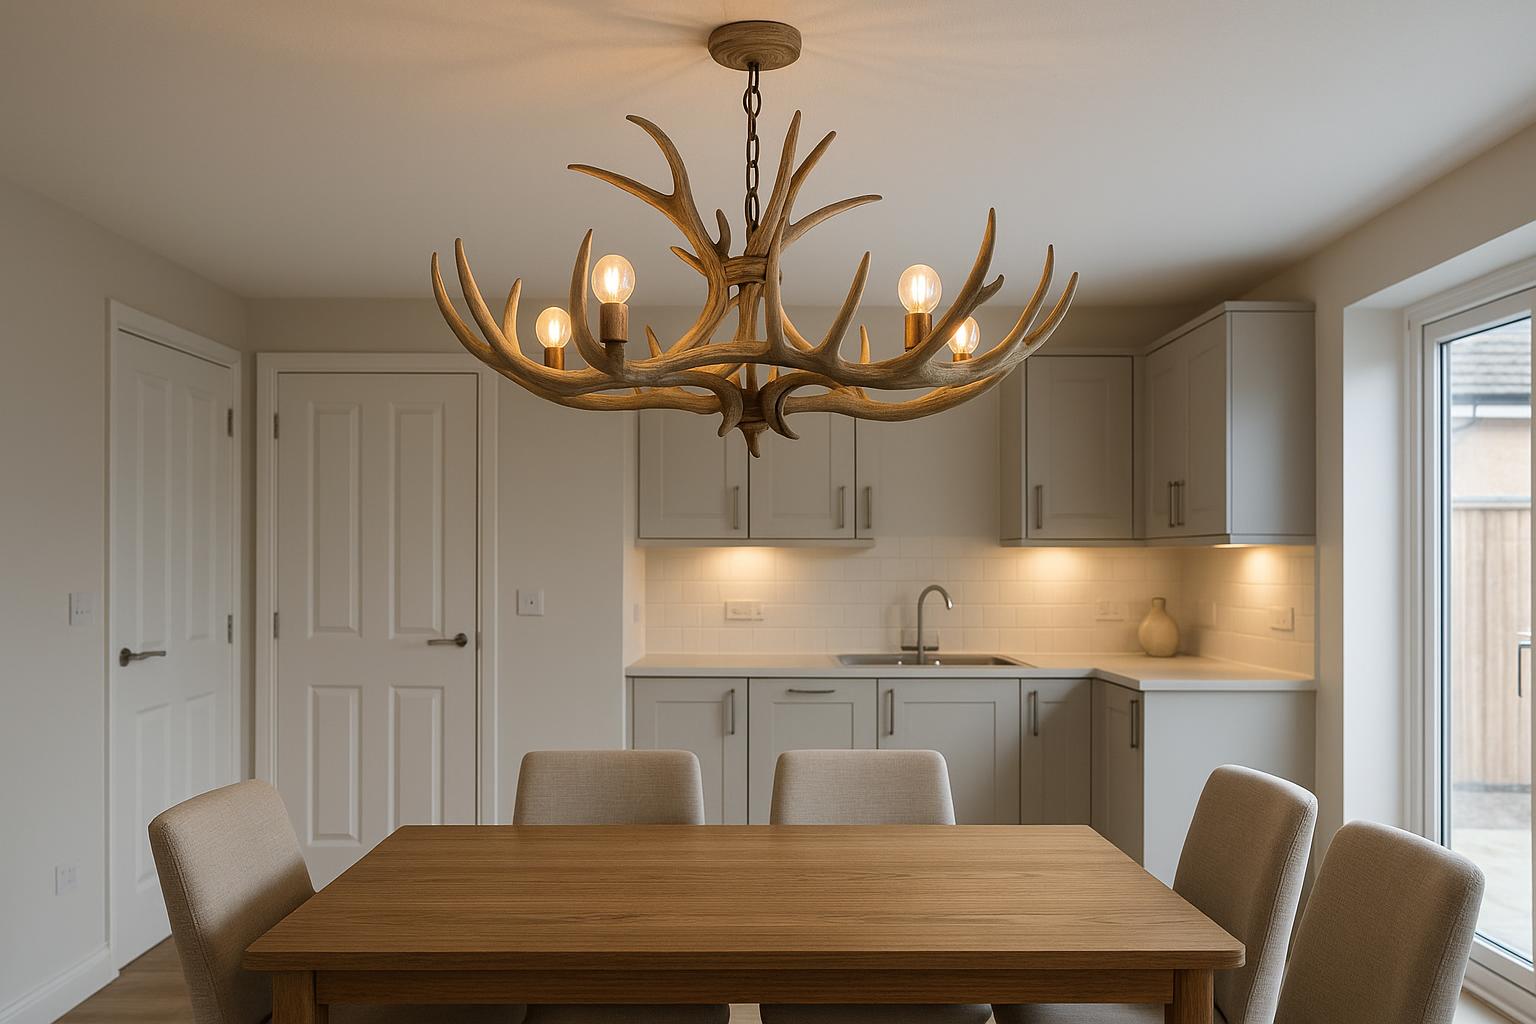
Look closely at the centre of the fitting. Dense branch intersections can make a design feel heavier than its stated width suggests, while an open centre allows more ceiling to remain visible. Note where the lamps sit in relation to the branches. Bulbs positioned beyond the outer tips produce a different impression from lamps tucked into the body.
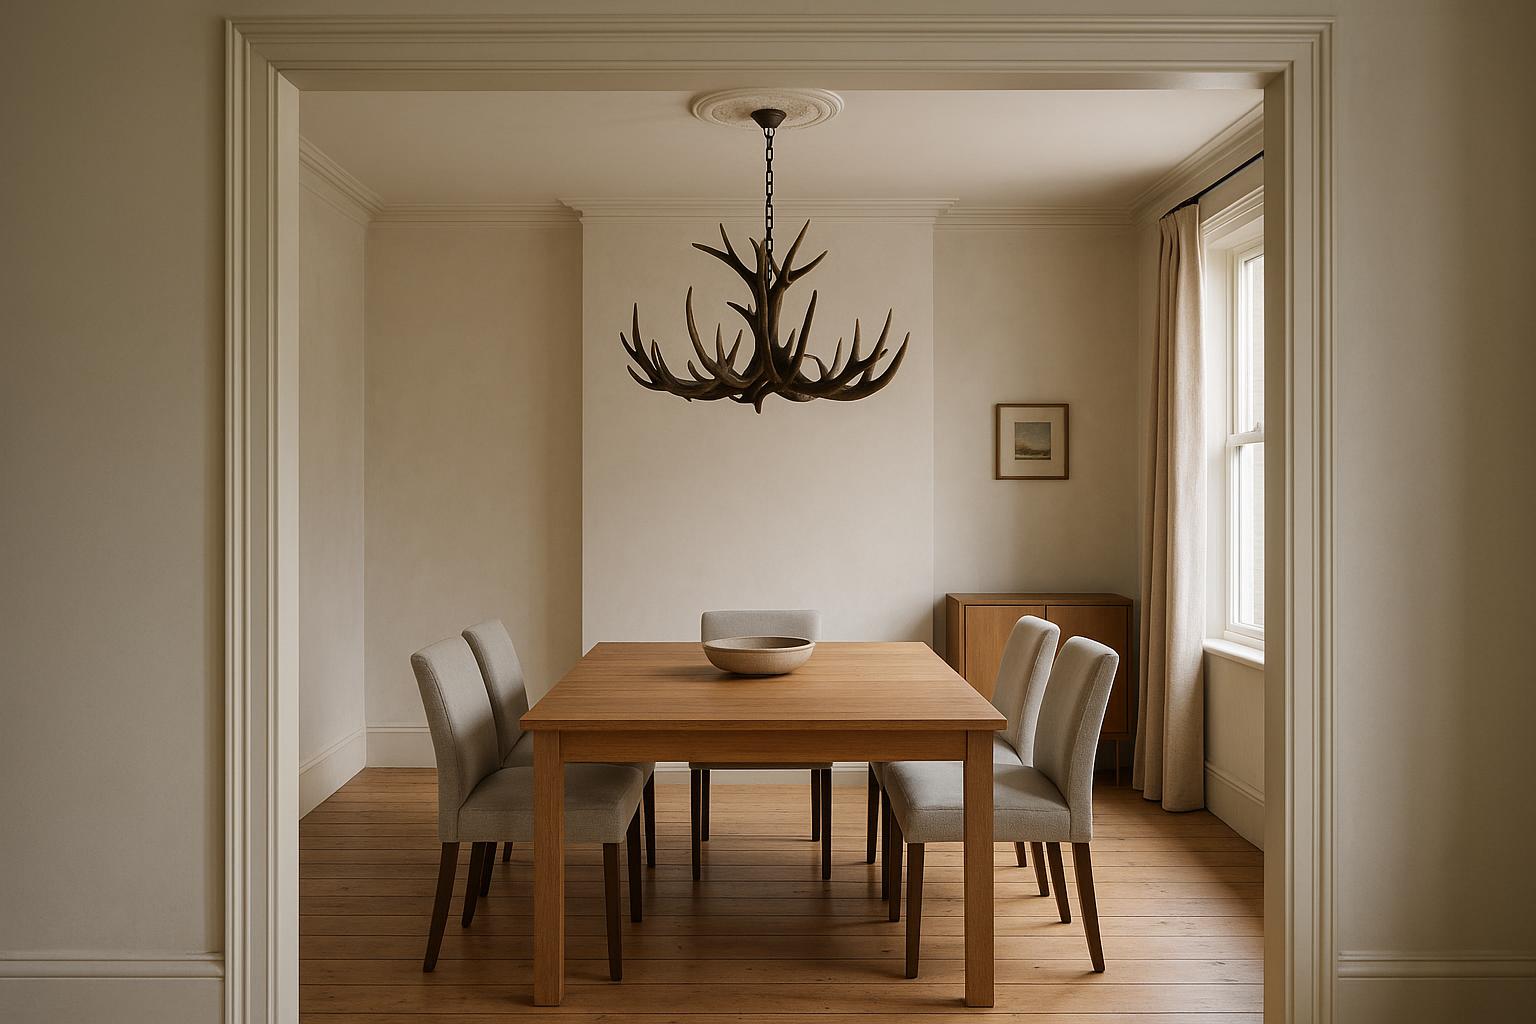
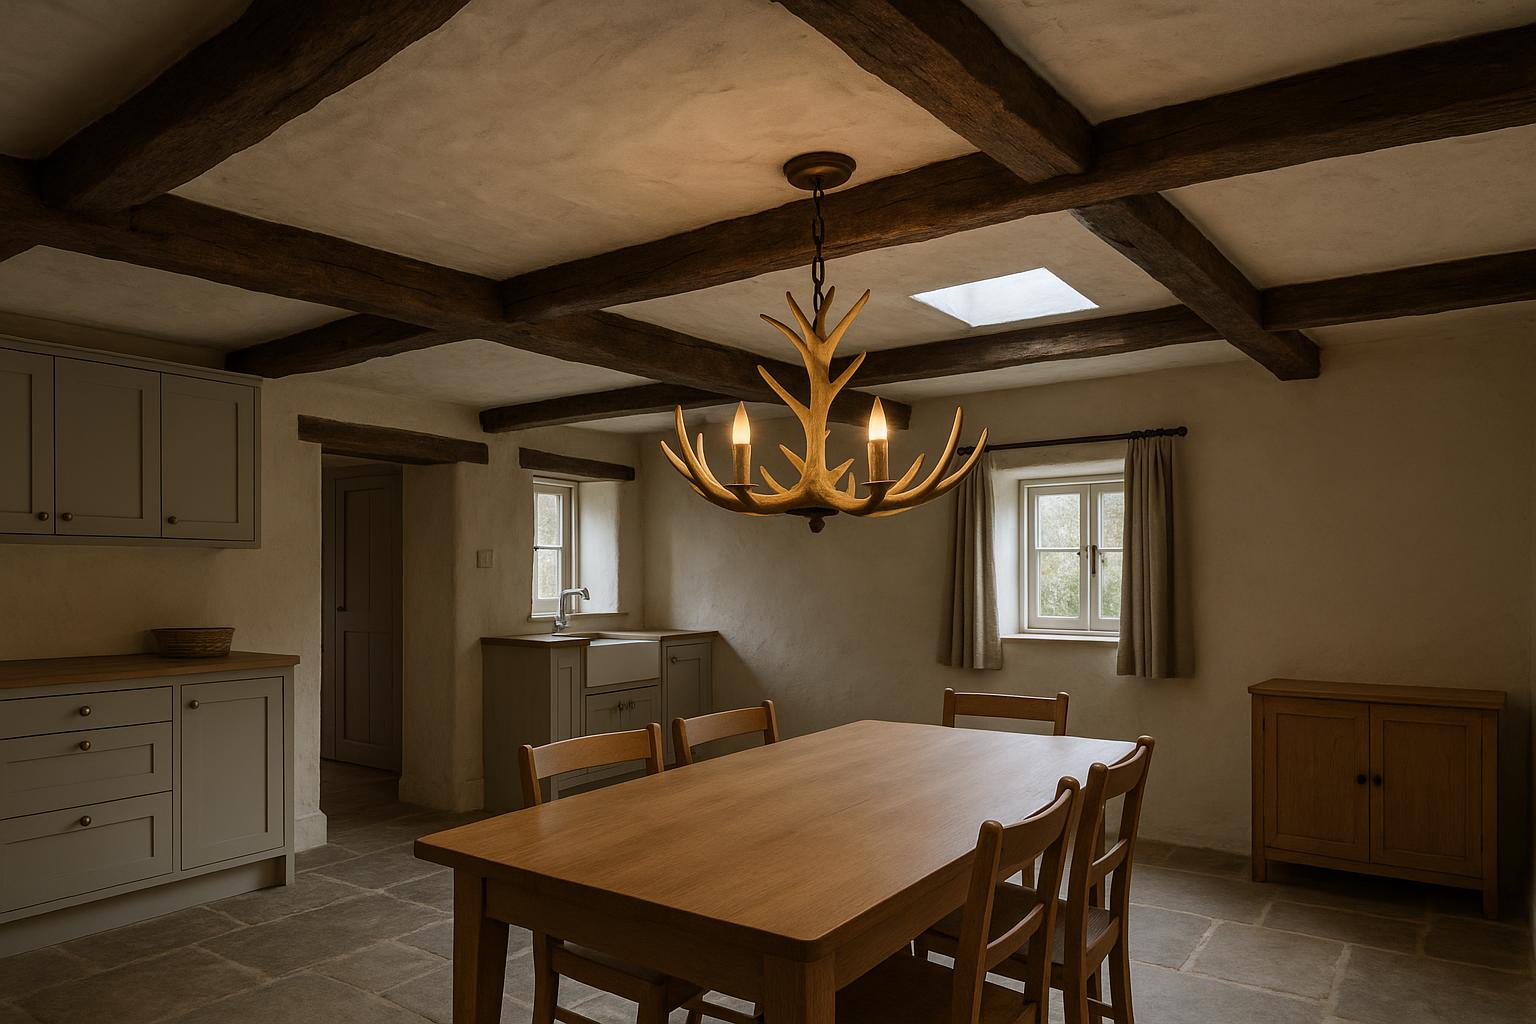
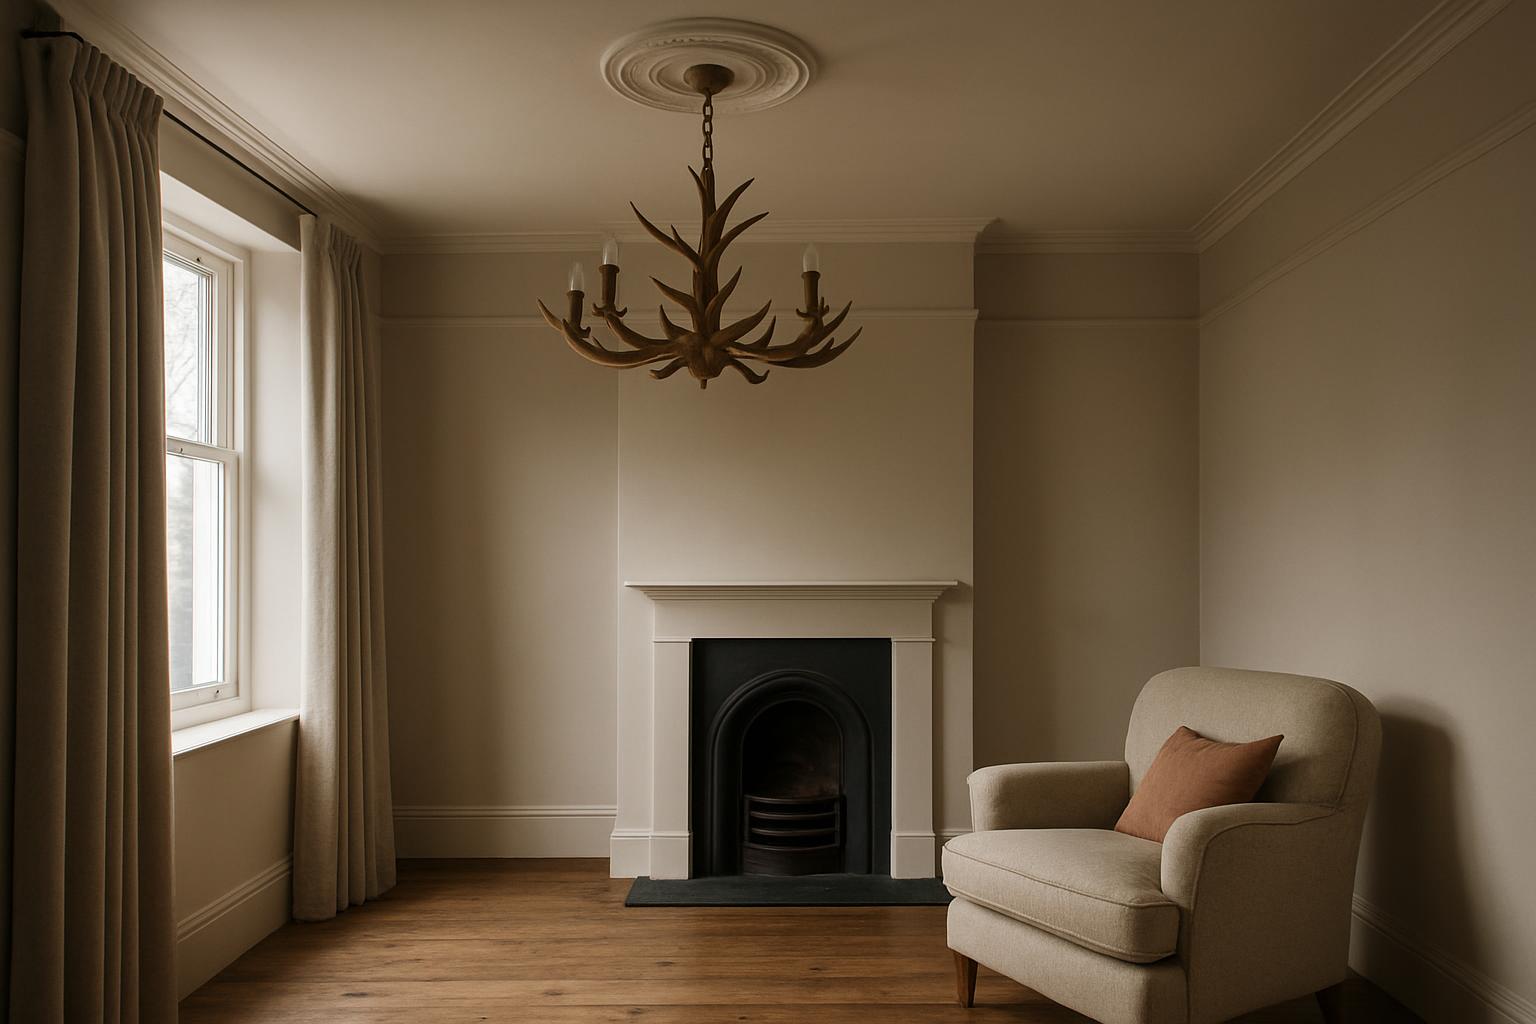
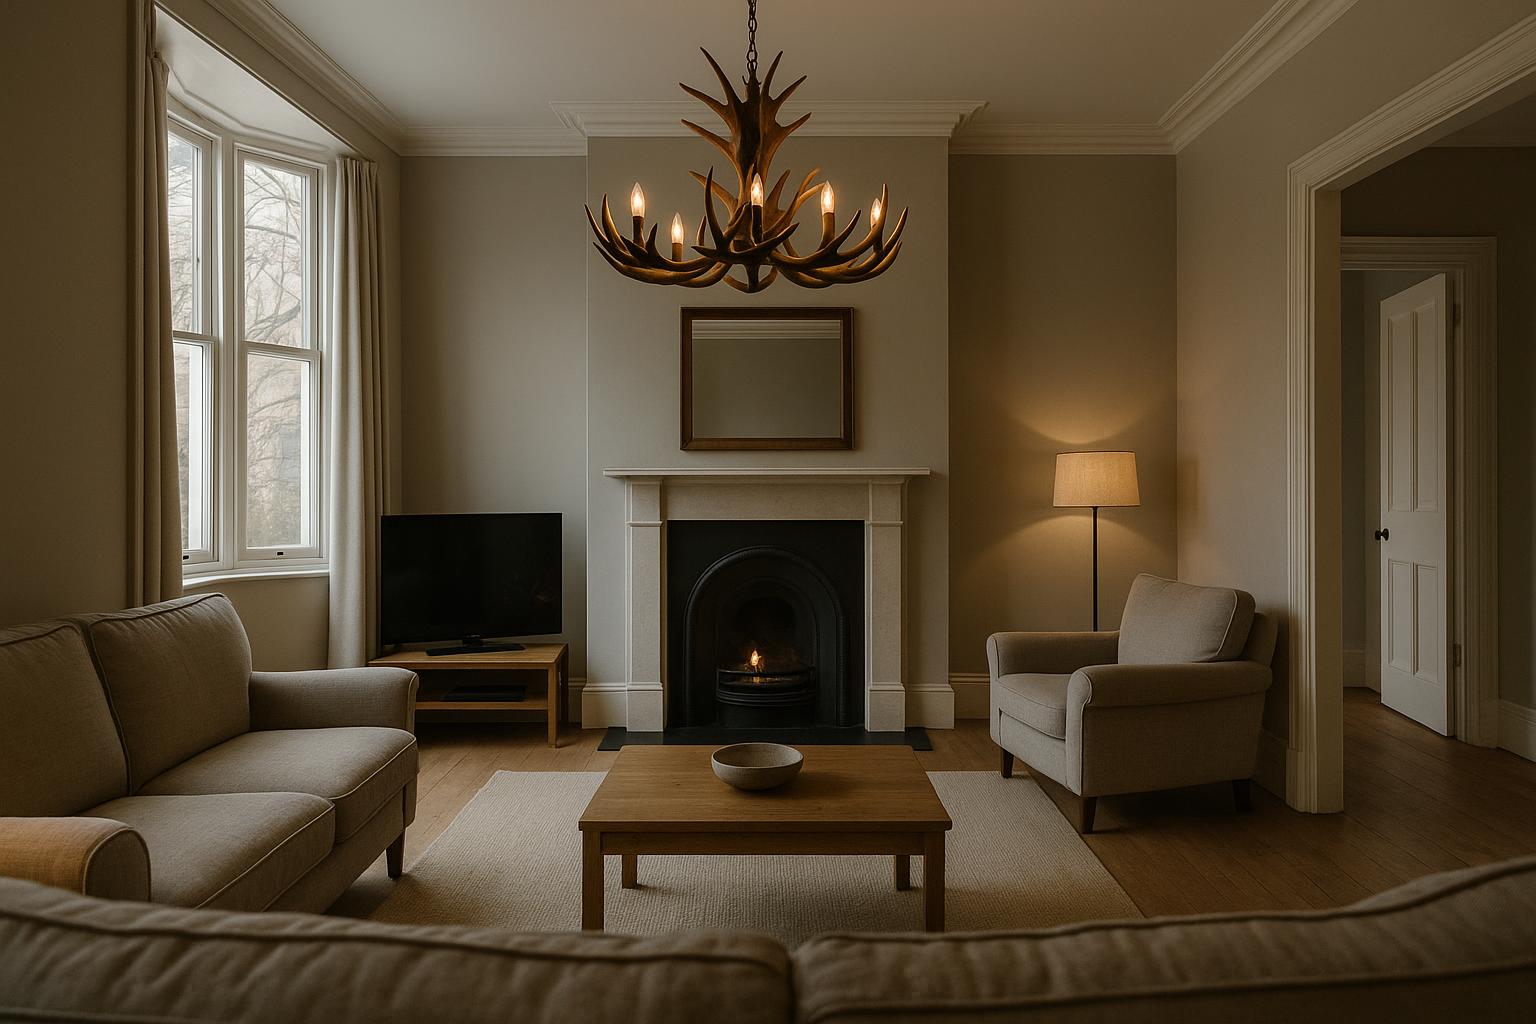
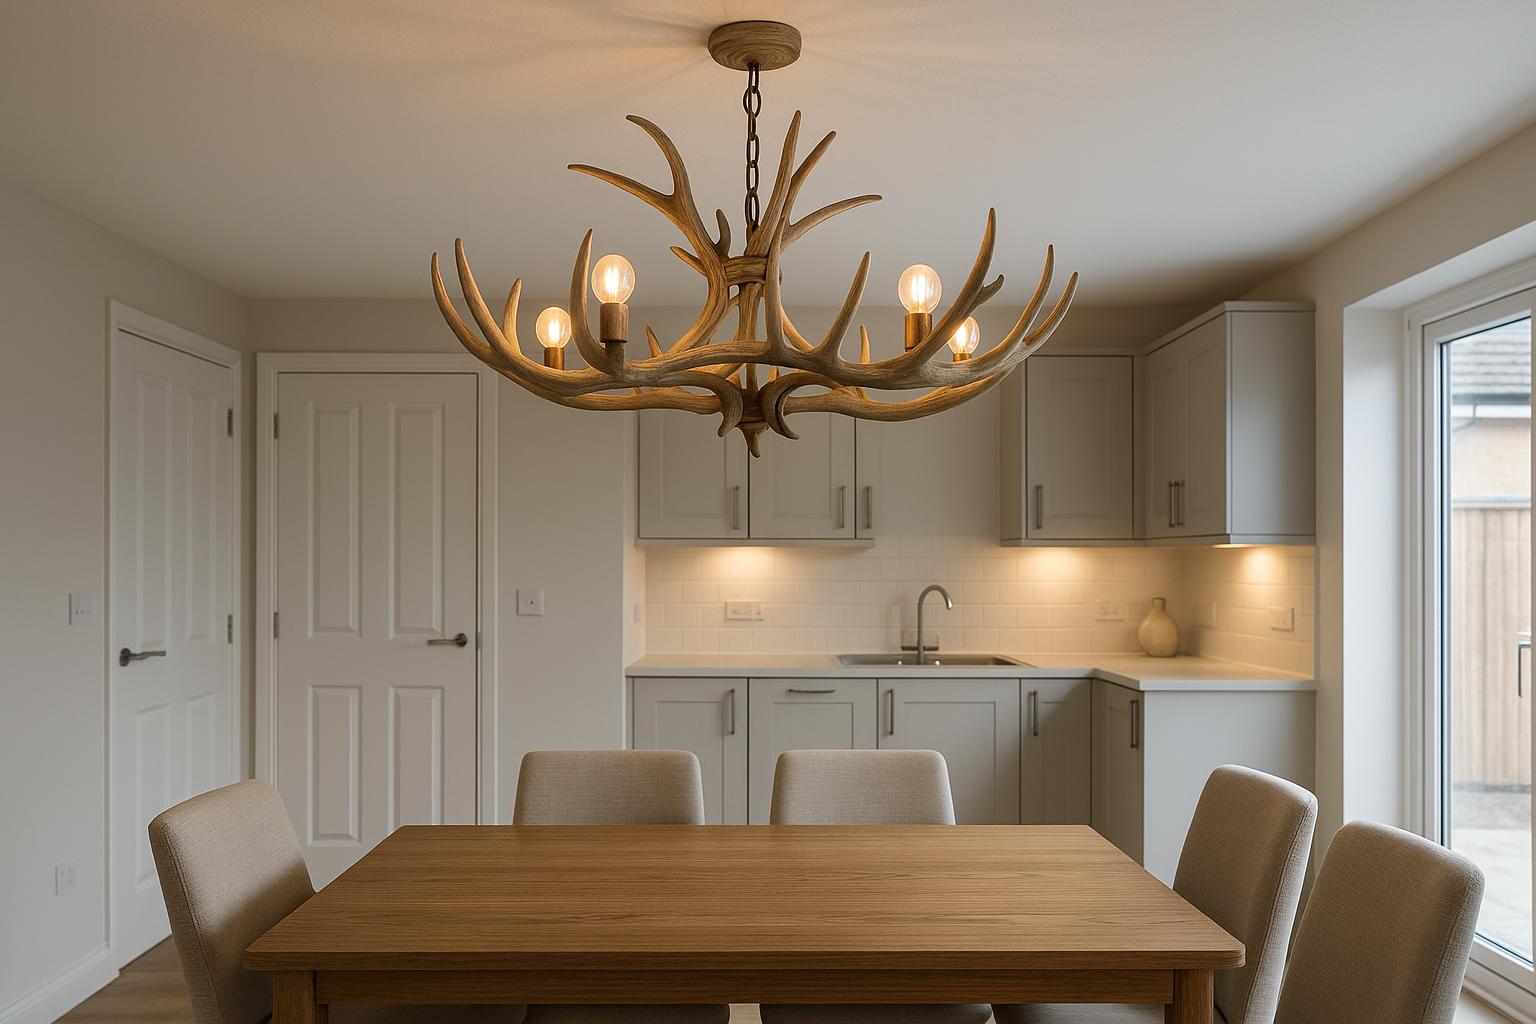
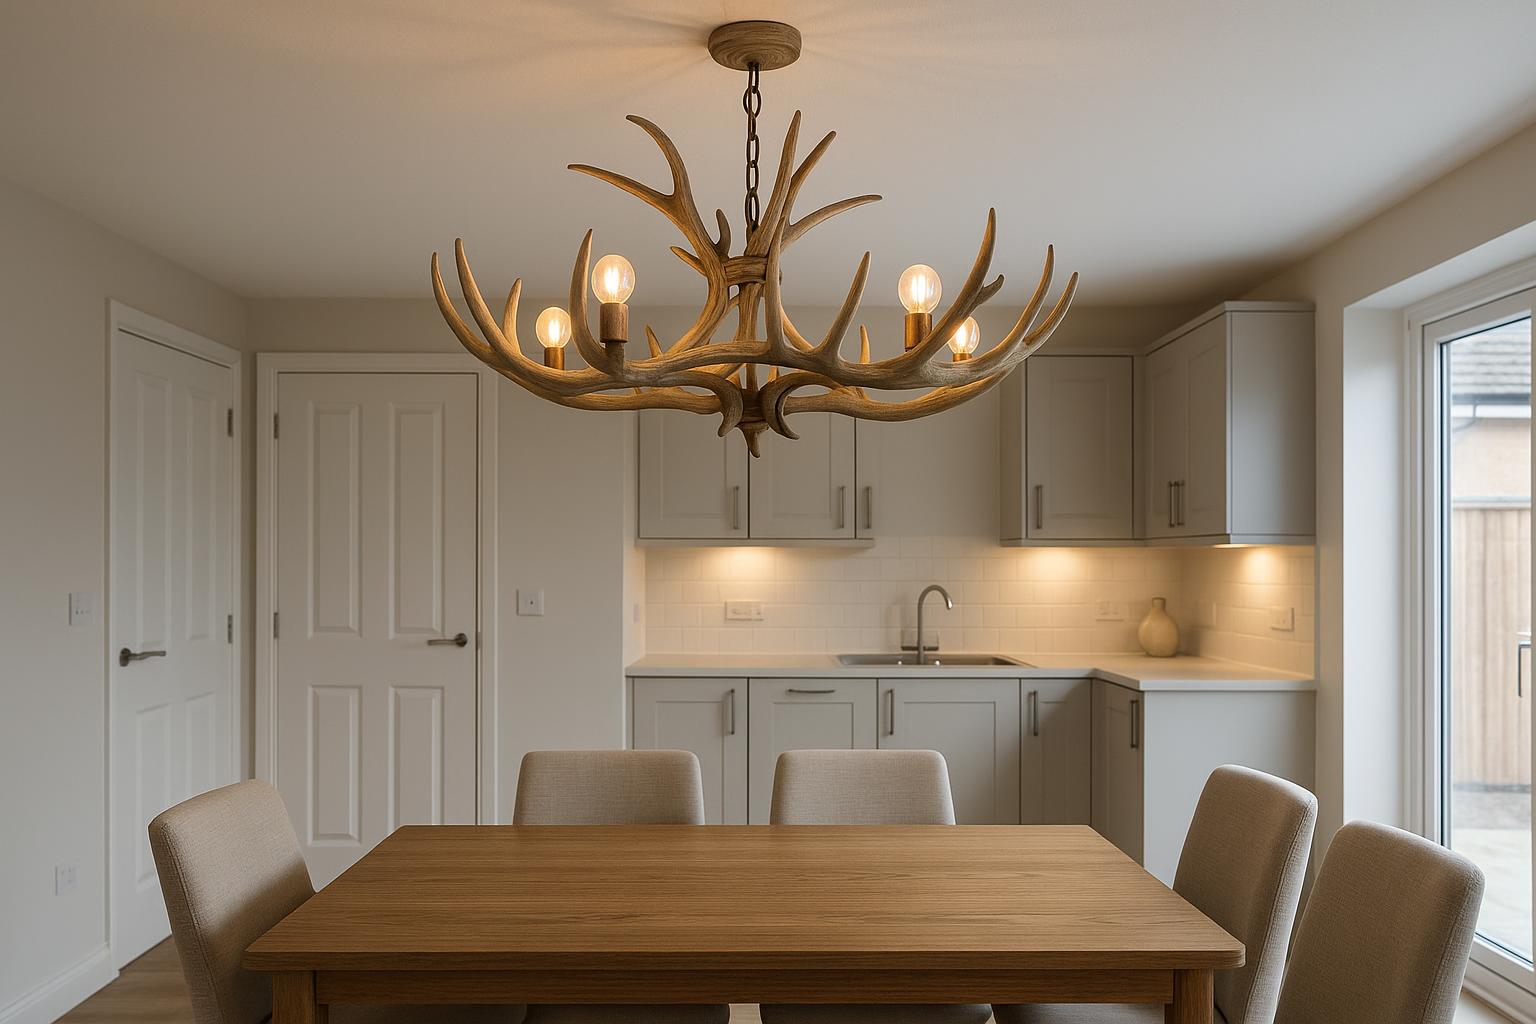
Room-set photography can help, provided it contains credible reference points such as a standard door, kitchen unit or mantelpiece. Wide-angle lenses and unusually high ceilings can still distort the apparent scale, so return to the specification before deciding.
Plot the fitting in three dimensions
A single diameter does not describe an irregular ceiling light adequately. Record its maximum width, body height and total drop, then check whether that drop includes the ceiling attachment, chain, cable or rod. If the suspension is adjustable, establish the shortest and longest usable positions from the product information.
Now consider the fitting as a volume rather than a flat circle. Branches may extend above, below or beyond the main ring, and those projections can make the light feel close to beams, cupboards or sloping plasterwork even when the central body fits comfortably.
A simple full-size test is more reliable than guessing. Mark the maximum width on the floor with removable tape, then use string or card to indicate the proposed drop. View the outline from the entrance to the room and from the places where people normally sit. In a bungalow or new-build with a modest ceiling, a wide, shallow fitting may feel calmer than a narrower design with a deep body. Beneath a vaulted or sloping roof, the opposite may be true.
Check the view from seats and doorways
Antler lights are often photographed from a flattering standing position. At home, they may be seen from a sofa, desk, bed or dining chair. These lower viewpoints matter because they reveal exposed bulbs, sockets and the underside of the central structure.
To complement this topic, you can also read Sofa, Hearth and Screen: Placing an Antler Light.
Identify the main sightlines before ordering. A lamp that appears softly luminous from the doorway may be uncomfortably bright when viewed directly from an armchair. Bulb shape, output and compatibility therefore form part of the design decision, not a final decorative flourish.
Branching forms also create broken patterns of light and shadow. This can enliven a plain ceiling or chimney breast, but it will not necessarily provide even working light across a kitchen island or home office. Where clear task lighting is important, plan for under-cabinet lights, a desk lamp or another appropriate source rather than expecting one decorative fitting to cover every need.
Read the silhouette rather than the style label
Descriptions such as lodge lighting, rustic antler lighting or country style chandelier are broad signals rather than precise accounts of appearance. Concentrate instead on the qualities visible in the design.

Widely spaced branches produce an airy outline and allow architectural details to show through. Closely layered branches create a denser centrepiece with more apparent weight. Symmetrical antler chandeliers tend to look formal, while uneven arrangements feel looser and more sculptural.
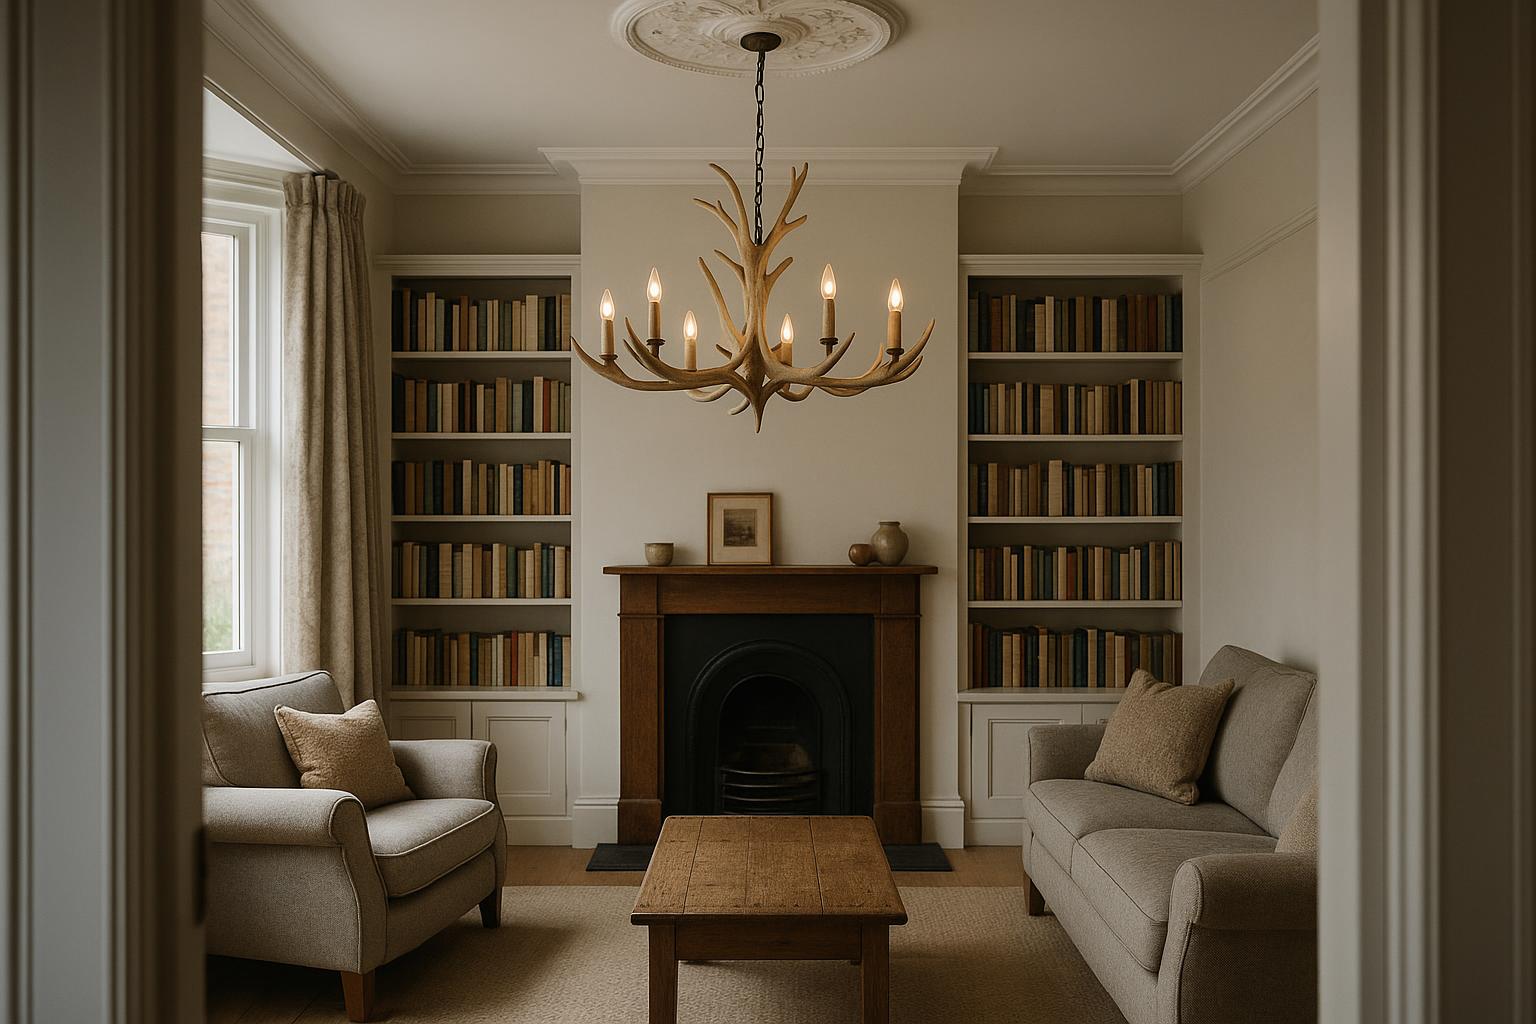
Match that visual density to the room rather than to a theme. Patterned curtains, exposed beams, a ceiling rose and shelves of books already create numerous lines. An open fitting may sit more comfortably among them. In a restrained kitchen-diner with plain cabinetry and little ornament, a stronger outline can supply useful definition.
Judge finish in daylight and lamplight
Finish changes with its surroundings. A pale fitting can look sharply defined against a dark painted ceiling yet almost disappear against white plaster. Dark brown, grey and black finishes usually retain a stronger outline after dusk, particularly when the room is otherwise softly lit.
Texture is just as important as colour. A smooth surface catches small highlights, while a matt or irregular finish scatters them more gently. Enlarged close-ups are useful for assessing this, although screen settings and edited photographs cannot guarantee an exact colour match.
In the same direction, Planning Antler Lighting Around Hallways and Stairs offers useful ideas for choosing home lighting more confidently.
Compare the finish with permanent surfaces first: flooring, beams, brickwork, ceiling colour, fitted cabinetry and metal door furniture. Cushions and rugs are easily changed. The light need not imitate the timber or metal already present; a clear contrast often appears more intentional than two finishes that nearly match.
Resolve installation details before checkout
Decorative scale is only part of the installation question. Check the fitting's stated weight, the dimensions of its ceiling attachment and any assembly information supplied by the retailer or manufacturer. A small ceiling plate may leave marks from a previous fitting visible, while a broad one could conflict with a compact ceiling rose.
The construction and condition of the ceiling also matter, particularly in older properties, converted lofts and rooms with decorative plasterwork. Do not assume that an existing position or fixing is suitable simply because another light is already hanging there. If the support, wiring or compatibility is uncertain, ask a suitably qualified electrician to assess the installation.
Confirm the required lamp cap, permitted lamp specification and any information about dimming. A dimmable bulb alone does not make an entire arrangement dimmable; the fitting, lamp and control need to be compatible. Product instructions should take precedence over assumptions based on appearance.
Consider cleaning and lamp changes
Every extra branch creates another edge on which dust can settle. Open designs are generally easier to reach than tightly crossed forms with deep recesses, although mounting height can make either type awkward.
For more consistent lighting throughout the home, the article The View from the Table: Getting an Antler Light Right may also be helpful.
Work out how the light would be reached without leaning over fragile furniture or balancing on unsuitable surfaces. Check whether lamps can be removed directly or whether branches, shades or decorative parts obstruct access. Follow the manufacturer's care guidance and switch the fitting off before cleaning. Strong cleaning products should not be used unless they are specifically approved for the finish.
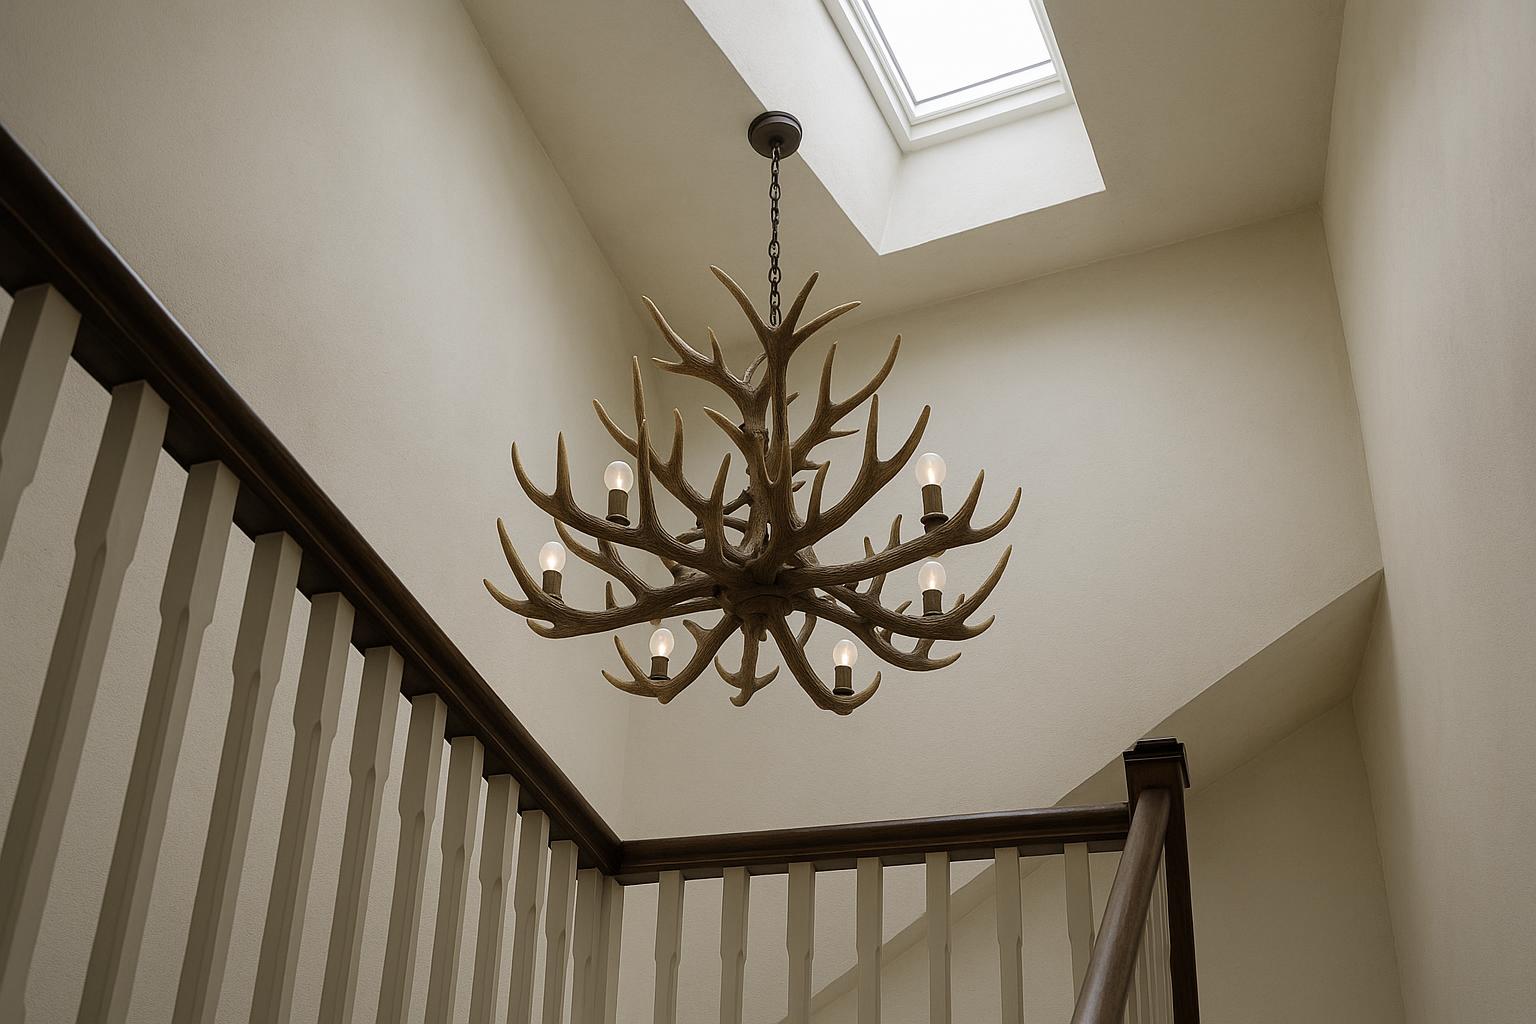
Maintenance deserves particular attention in stairwells, double-height extensions and rooms with sloping ceilings. A fitting that looks impressive from below may become a poor everyday choice if routine access requires specialist equipment.
Compare the evidence and make a shortlist
Once two or three designs remain, compare them against the same practical notes rather than returning repeatedly to the most atmospheric photograph.

- Envelope: maximum width, body height and total installed drop;
- Sightlines: bulb and socket visibility from normal seated positions;
- Structure: open or dense branches, symmetry and visual weight;
- Finish: contrast with the ceiling and relationship to permanent materials;
- Installation: weight, ceiling attachment, adjustment and assembly information;
- Lighting: compatible lamps, controls and supporting task lights;
- Upkeep: safe access for dusting and changing lamps.
The most elaborate fitting is not automatically the one with the greatest presence. In a compact room, a cleaner outline may be easier to read and live with. A generous space may need more breadth or branch density, but only where the ceiling and viewpoints can support it.
With those checks complete, browse Lumin Light's collection of antler lights and compare the specifications with your shortlist. The right choice should remain convincing when the room-set photography is forgotten: properly scaled, comfortable to look at and manageable long after installation day.