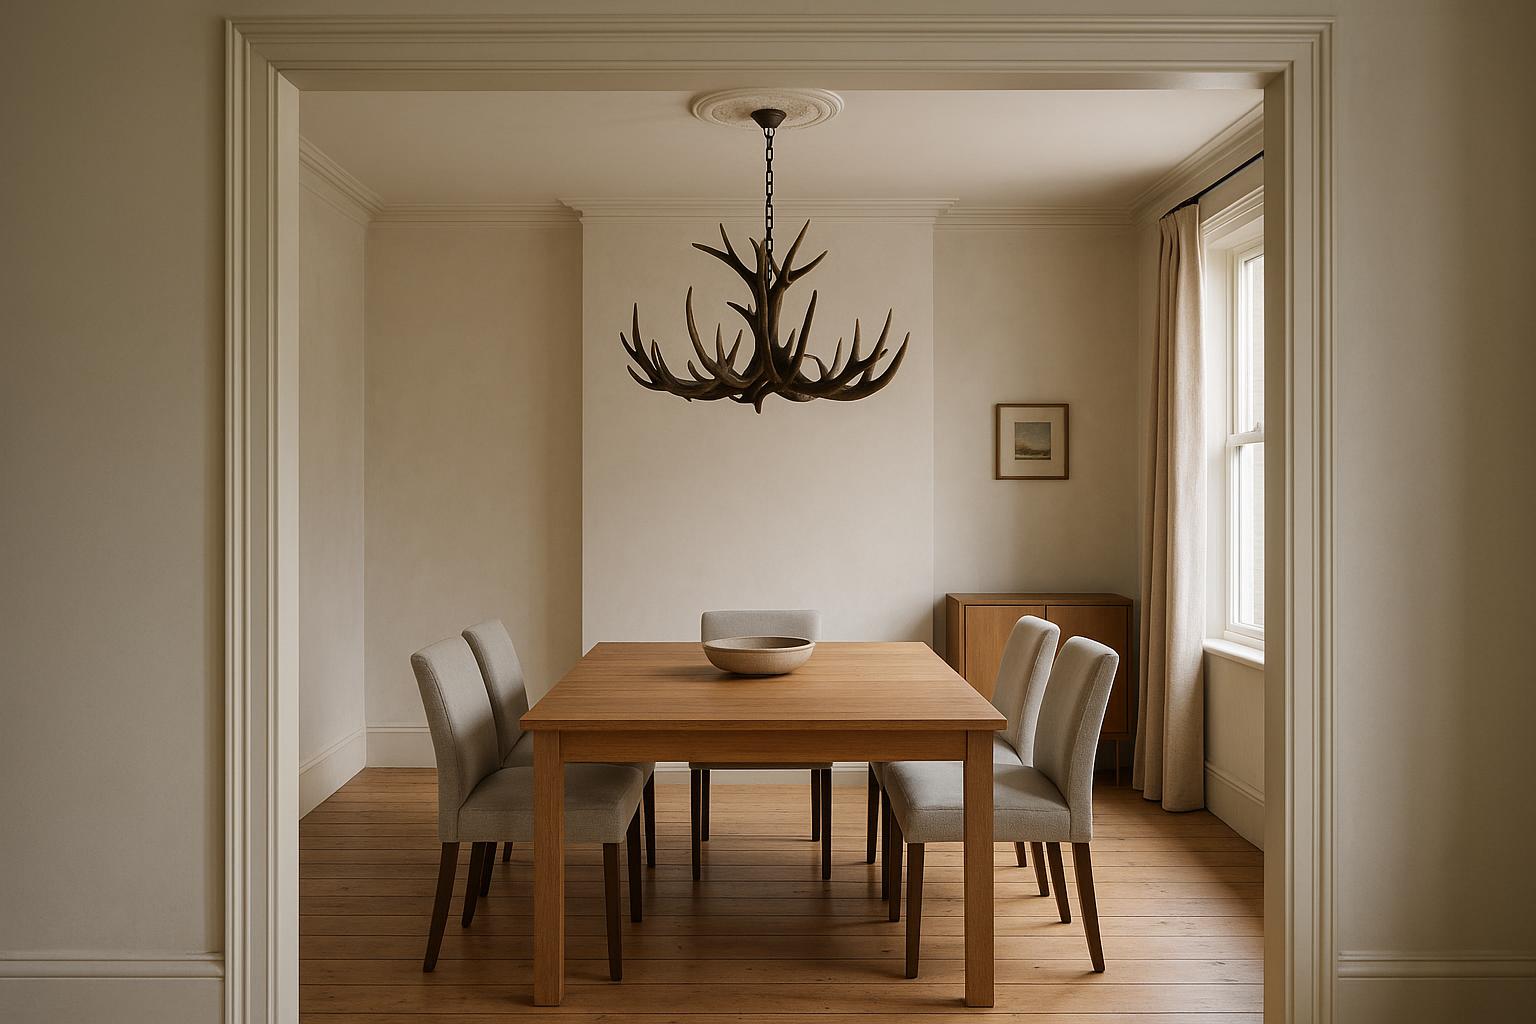
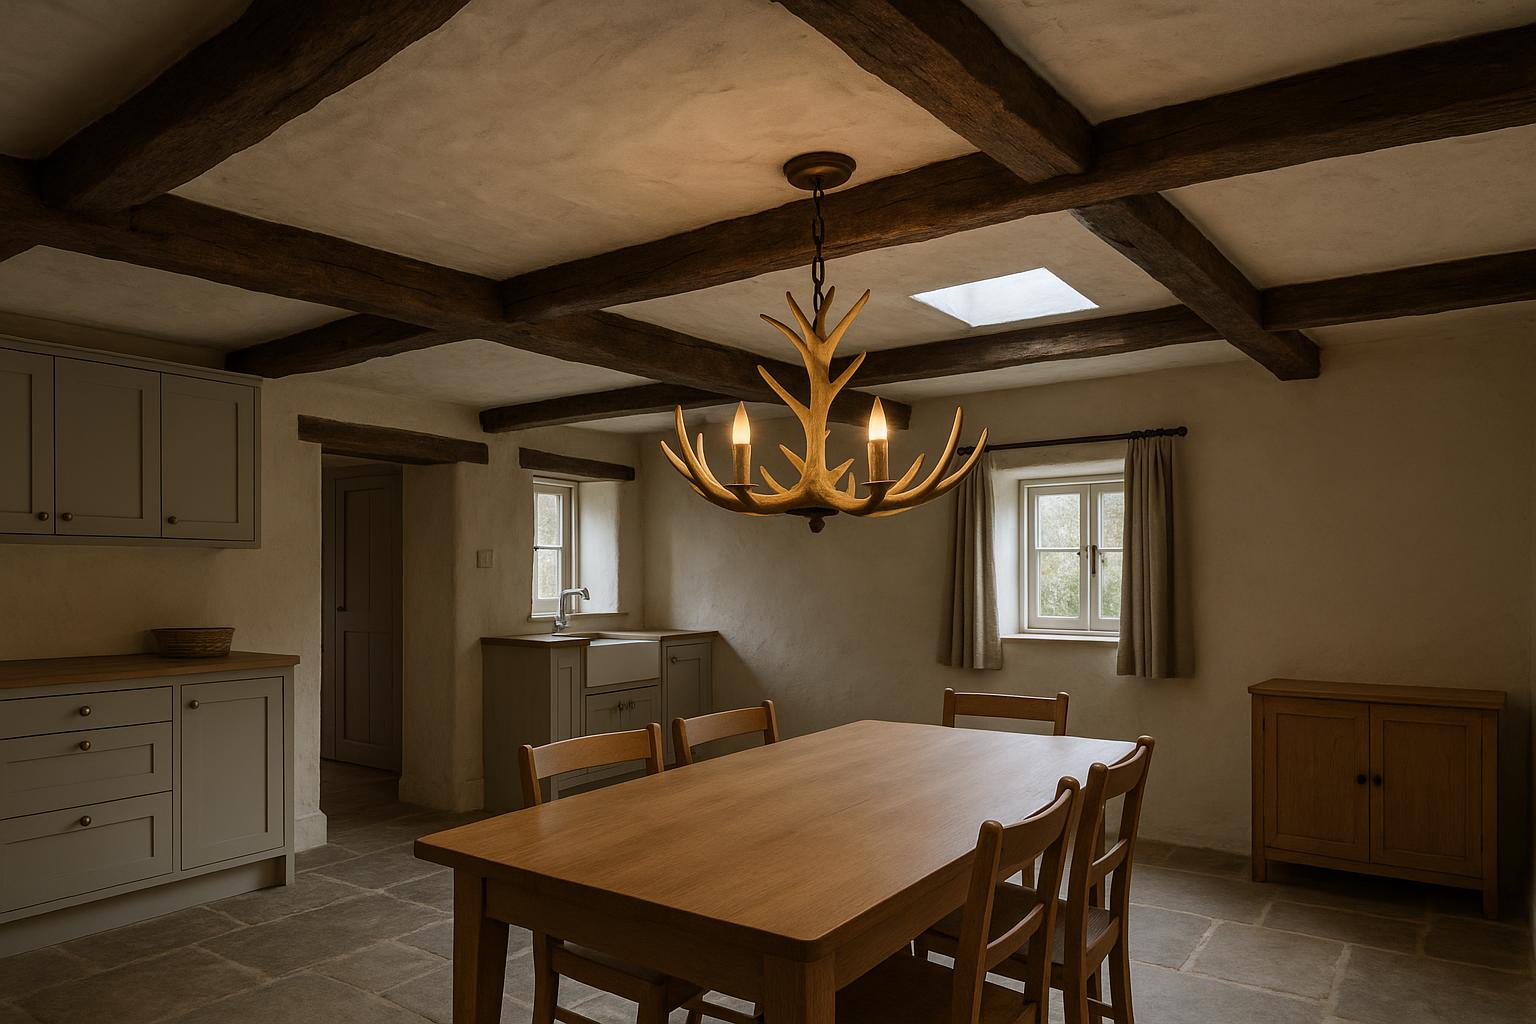
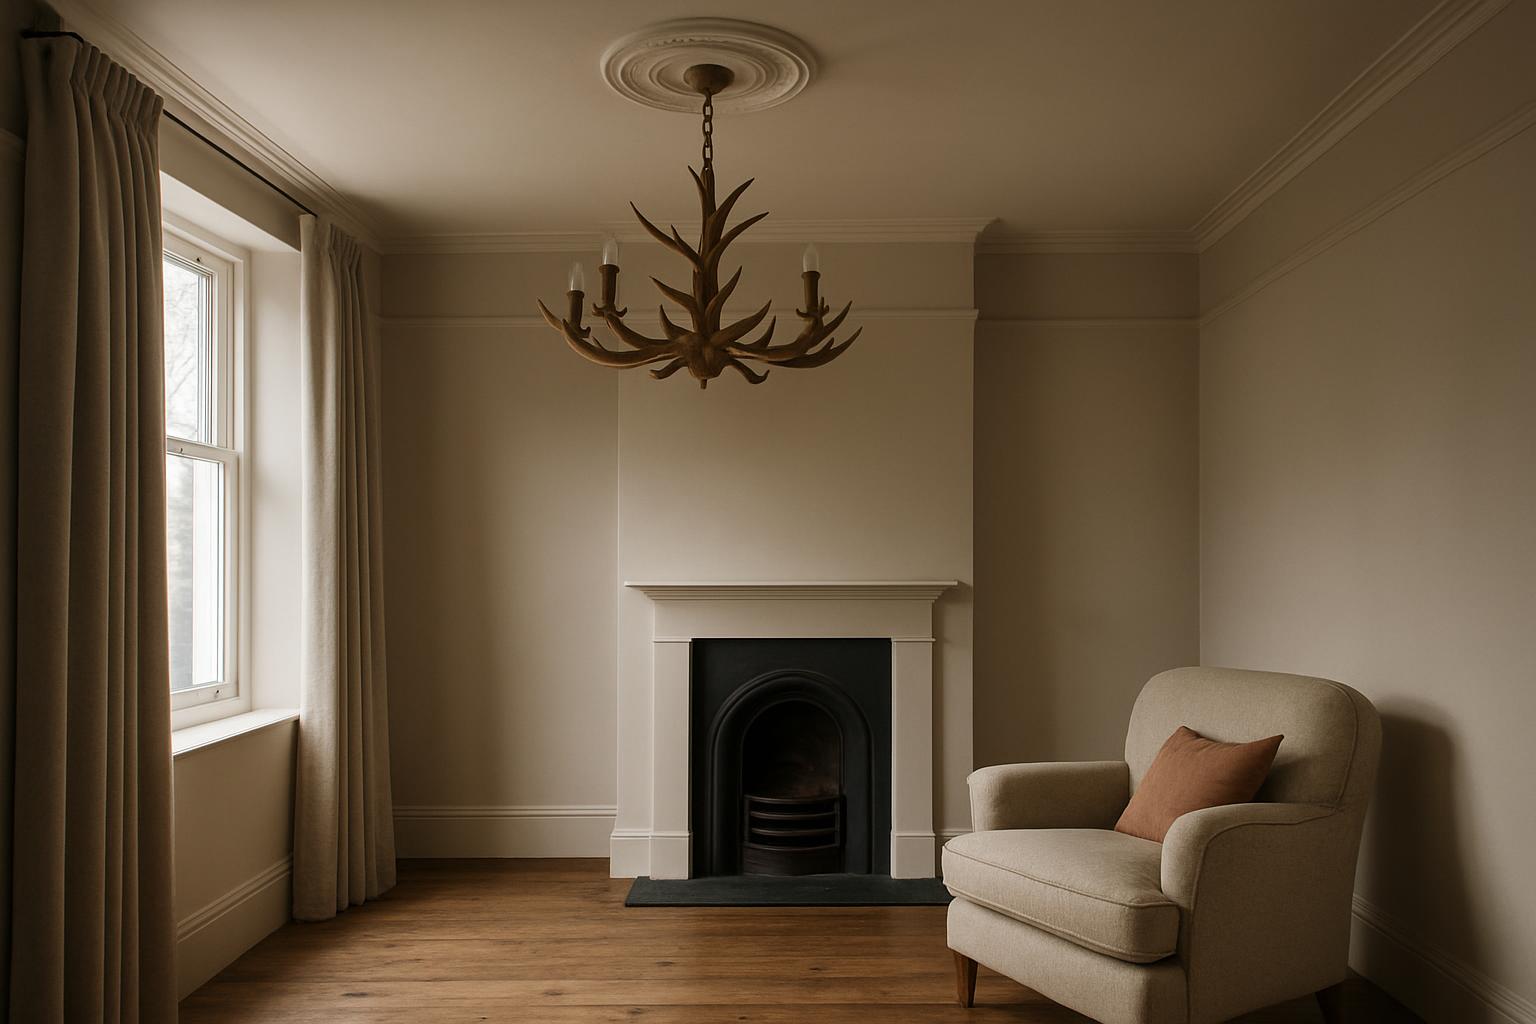
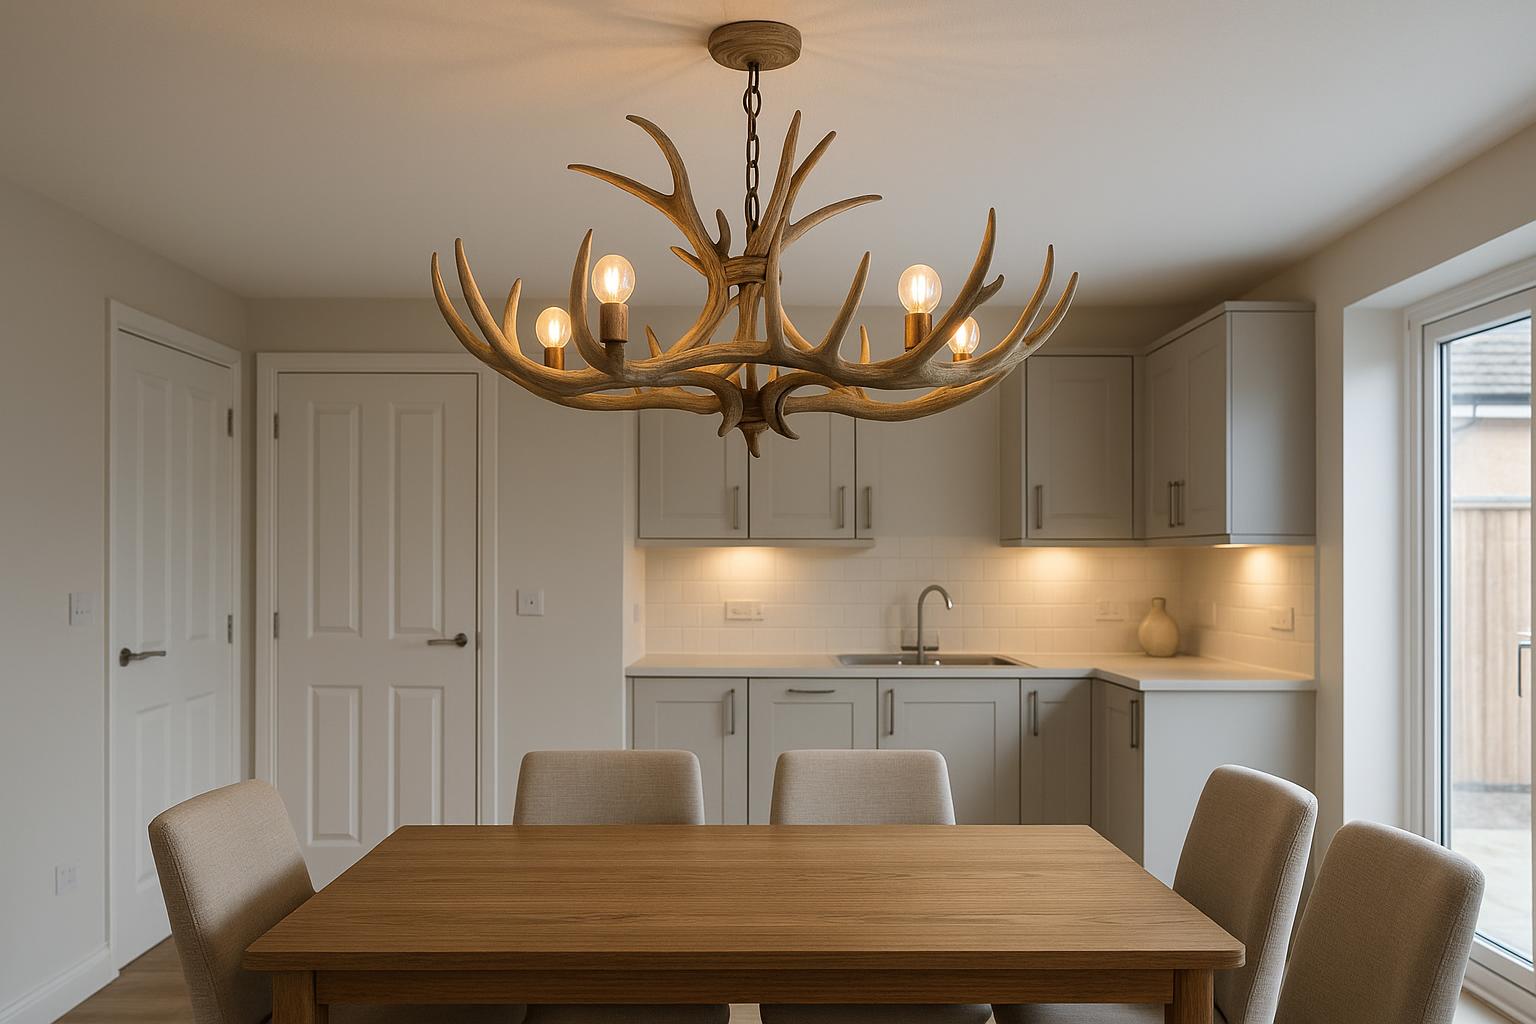
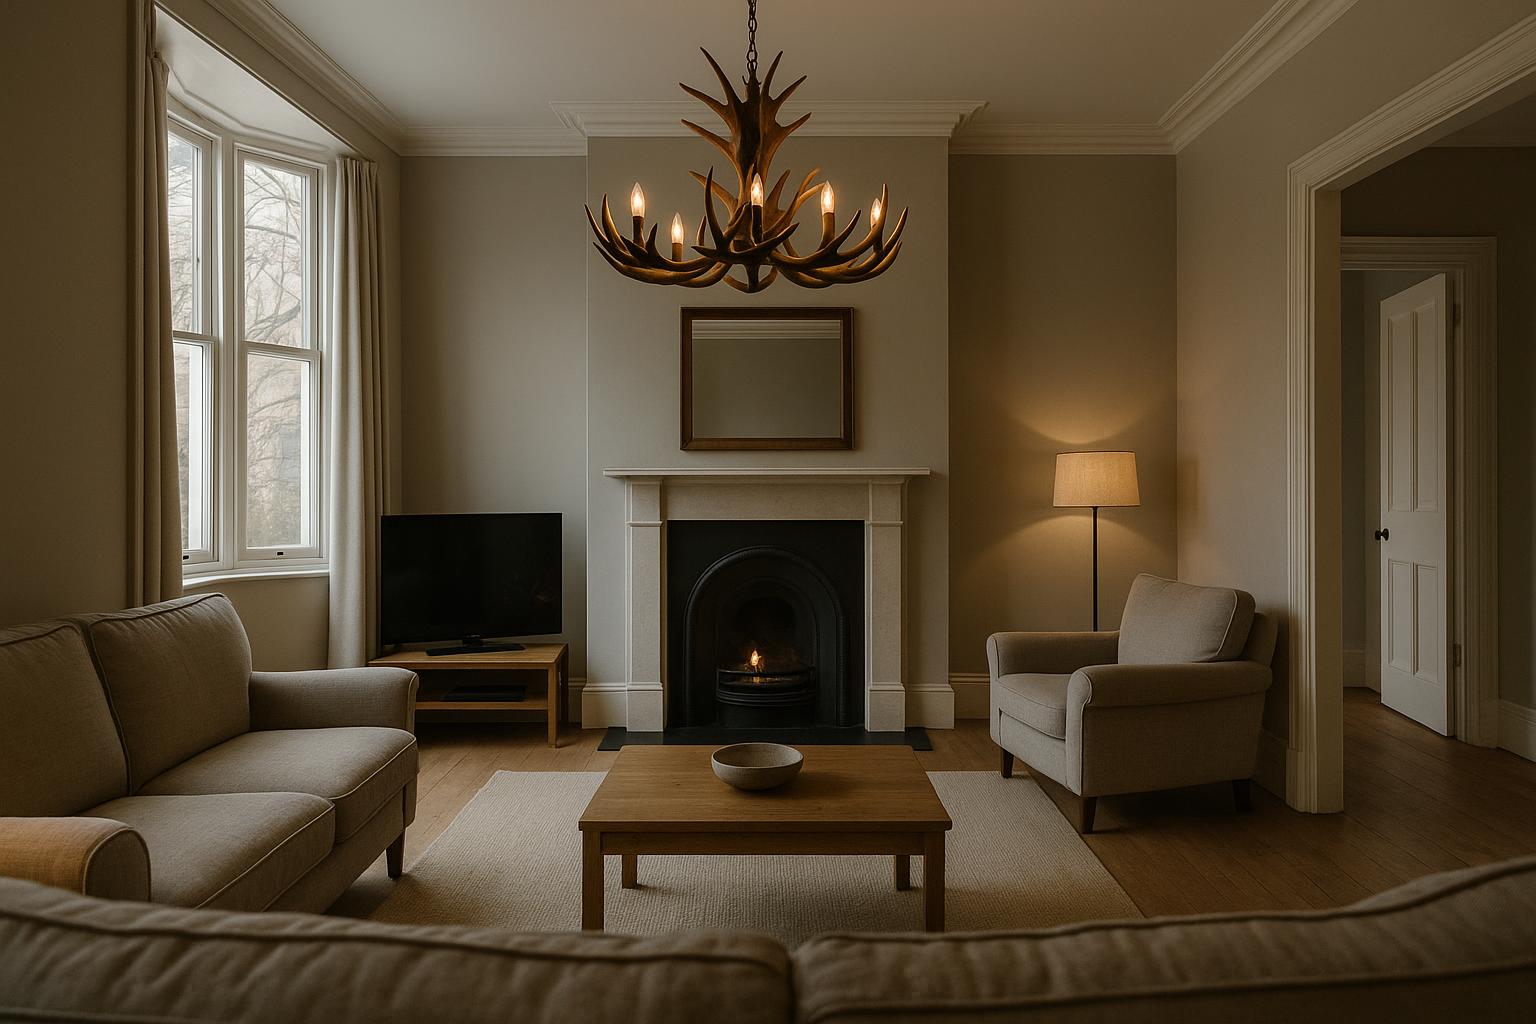
An antler light need not belong to winter. A calm permanent scheme, a few movable elements and well-planned...
- There are no more items in your cart
- Shipping
- Total £0.00
Planning Antler Lighting Around Hallways and Stairs
Hallway lighting has to work while the space is in use. Coats are lifted from hooks, cupboard doors open into the route, furniture is carried upstairs and visitors pause just inside the front door. A branching light fitting may look perfectly proportioned in isolation yet feel intrusive once those movements are taken into account.
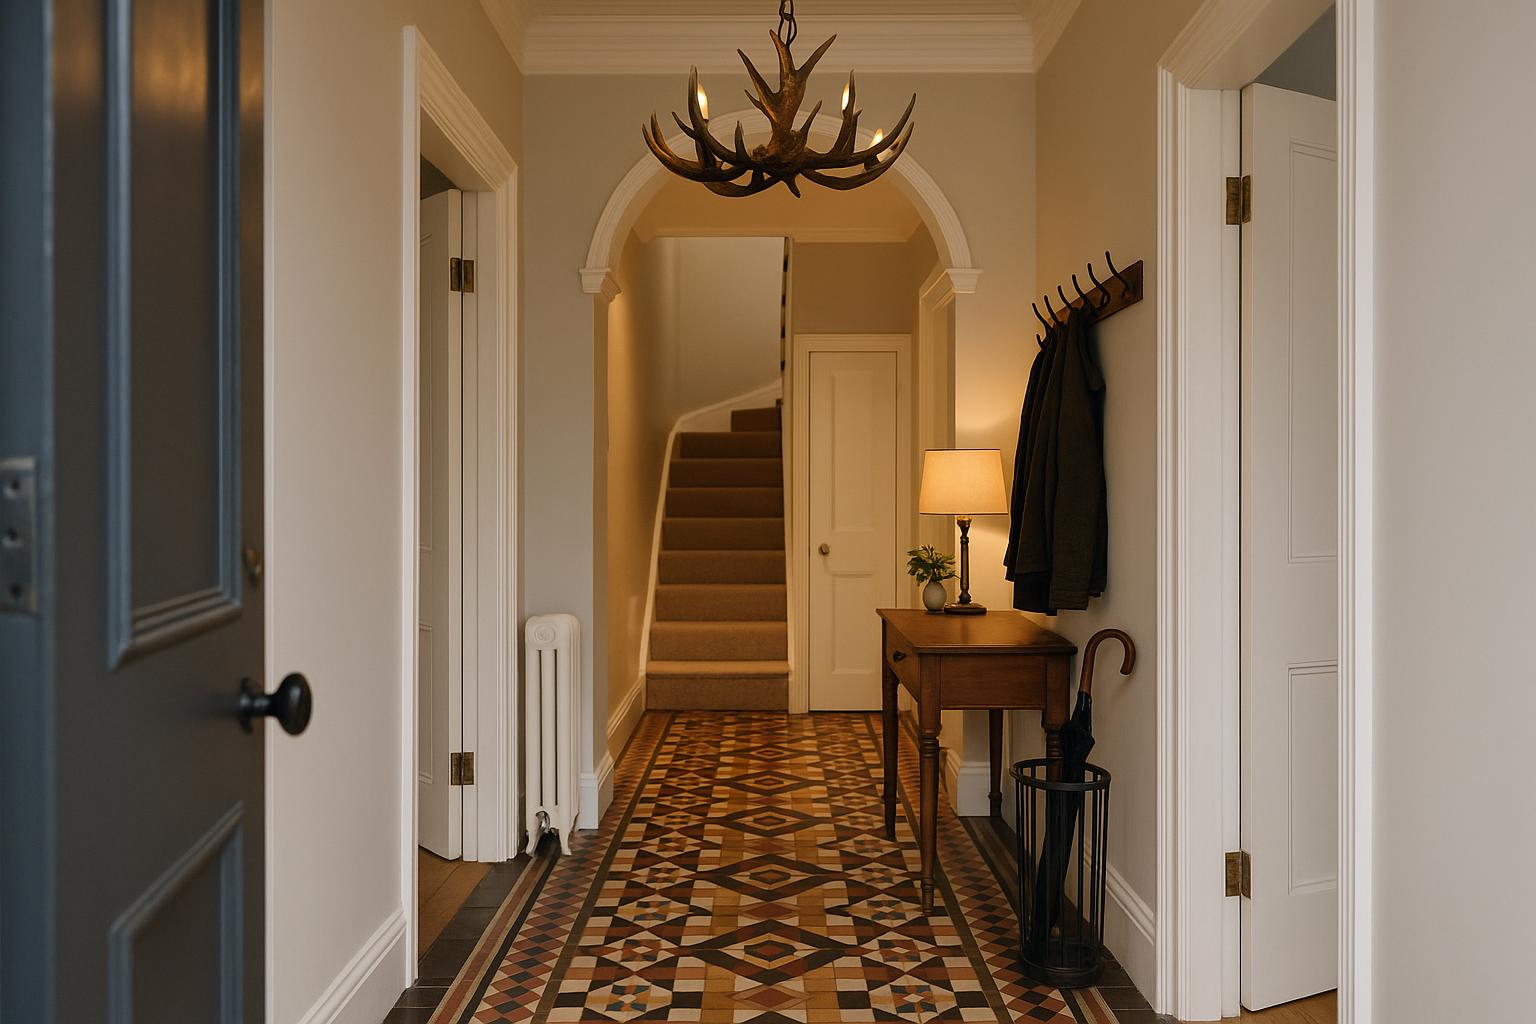
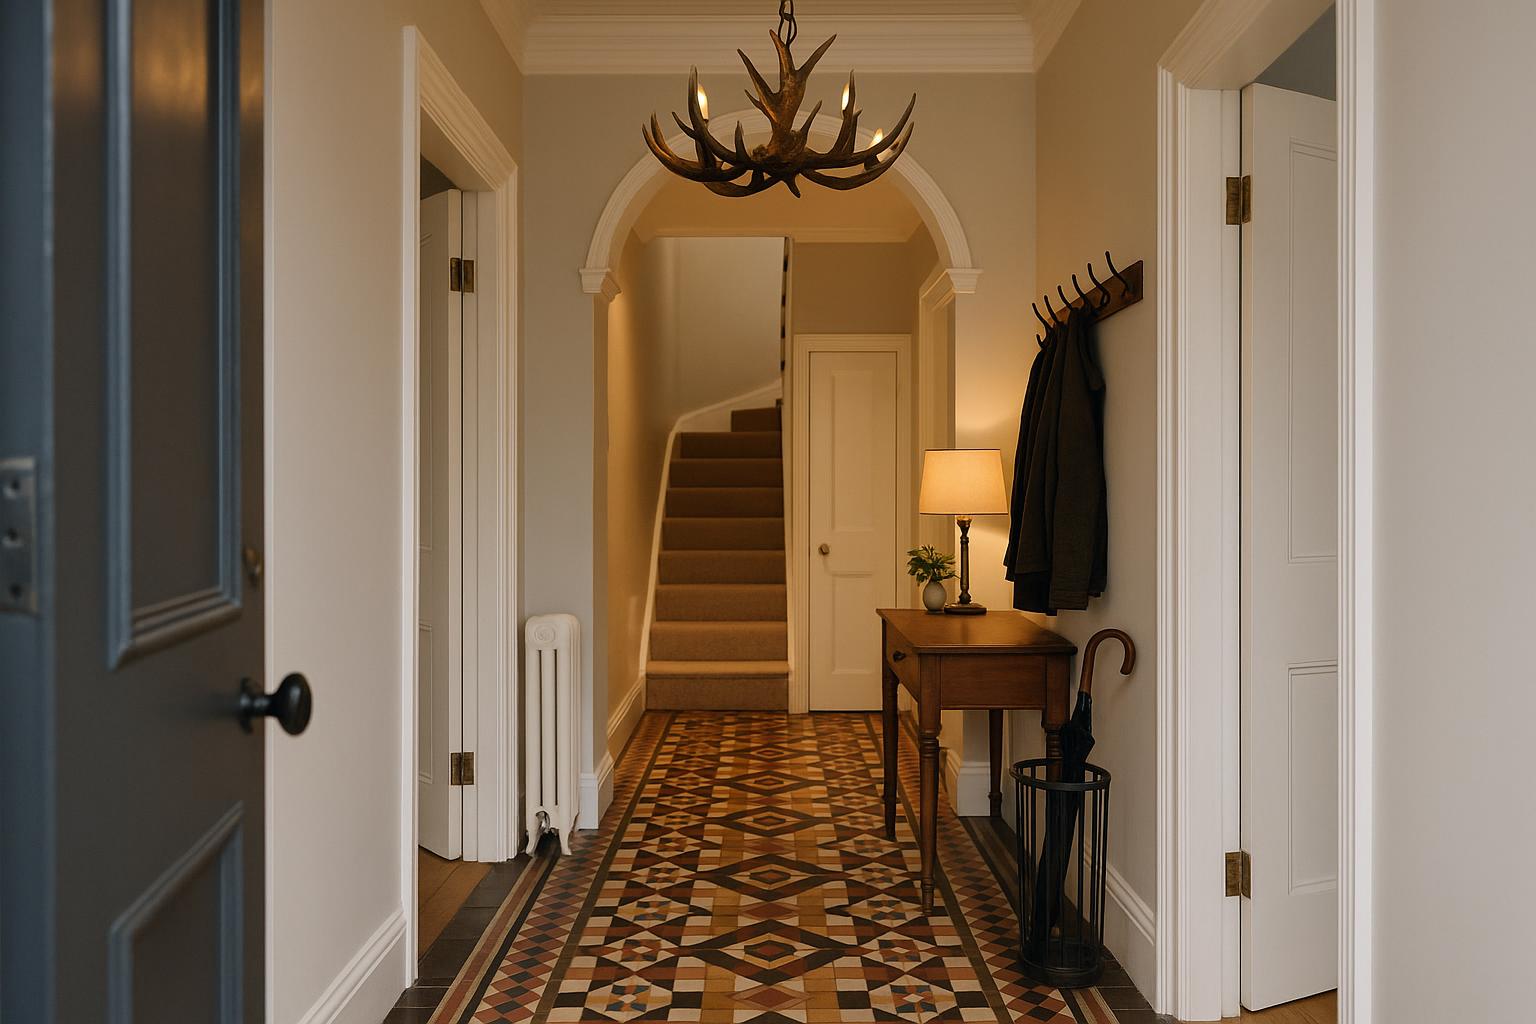
Planning antler lights for hallway spaces therefore begins with the route rather than the decoration. Width and drop matter, but so do the positions from which the fitting will be seen. A compact Victorian entrance, a square new-build hall and an open Edwardian stairwell may all suit antler lighting, although they require quite different shapes and positions.
Map the route before choosing a fitting
Start with a simple plan of the floor. Mark the front door, internal doors, stairs, radiators, cupboards, consoles and coat storage. Add the arcs of doors as they open. This quickly identifies the parts of the ceiling beneath which people and objects regularly pass.

The existing electrical point is not necessarily the best visual centre. It may relate to an earlier layout, particularly in a period house where partitions or doorways have changed. Even in a newer home, a ceiling point centred between four walls can sit awkwardly over a busy junction of door swings.
Look instead for usable space. A fitting can occupy more width above a shallow console or within an open stair void than above the narrowest part of the route. In a long hallway, placing the feature slightly farther into the house may create a stronger view while keeping the entrance clear for wet umbrellas, parcels and bulky coats.
Judge the light from adjoining spaces
A hallway light is rarely seen only from the hallway. View the proposed position from outside the open front door, from the first stair tread and through the principal adjoining doorways. In a through-plan home, it may also be visible from the sitting room or kitchen-diner.
The background affects how large the fitting appears. Dark branches can read clearly against pale plaster but become visually tangled when they overlap stair spindles, glazed doors or patterned wallpaper. A lighter natural finish may have more presence against deep blue, green or warm grey walls. Try to give the outer profile a relatively quiet background from at least one important viewpoint.
Consider other decorative lights on the same axis. If a dining pendant is visible beyond the hall, decide which fitting should command attention. Two assertive silhouettes lined up through open doorways can make both feel less considered.
Choose an outline that suits the hall
Overall diameter is useful, but it does not describe visual weight. Two fittings of the same width may behave differently if one has a dense centre and the other has widely spaced branches. Check the complete profile, including lamp holders, shades where present, suspension and the lowest decorative point.
To complement this topic, you can also read The View from the Table: Getting an Antler Light Right.
- Long, narrow hallways: favour a restrained width with a profile that leaves visible space between the outer branches and the side walls.
- Square entrance halls: a balanced, broader outline can establish a centre among several doorways, provided their swings remain clear.
- Low cottages and bungalows: consider a compact ceiling-mounted form rather than forcing the drop associated with lodge lighting into a shallow room.
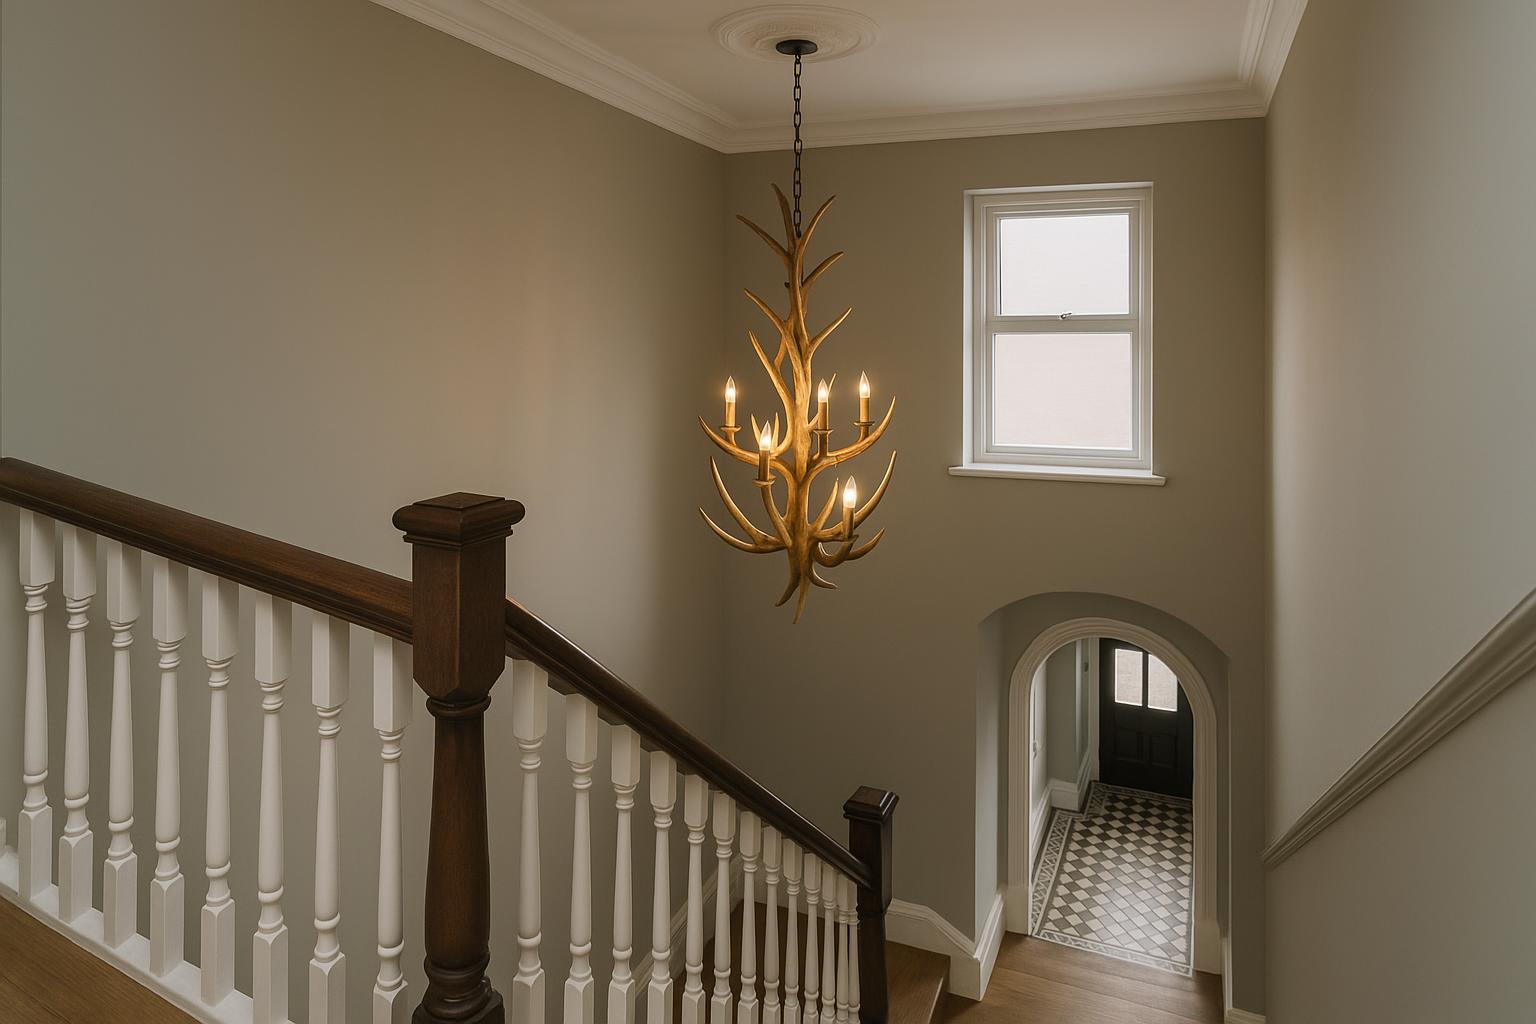
- Open stair halls: a taller composition may suit the void, but it must be assessed from the upper landing as well as from below.
A country-style chandelier does not require a grand interior, but it does need enough surrounding space for its outline to be understood. In a modest hall, a simpler antler form often has more impact than a larger design crowded by walls and joinery.
Treat the staircase as a changing floor level
Measuring from the ground-floor tiles alone is not sufficient near stairs. Each rising tread changes the distance between the person using the staircase and the fitting above. Check the proposed width and drop in relation to the complete flight, including turns, half-landings and the upper balustrade.

Think beyond ordinary foot traffic. The route may occasionally carry a folded pushchair, a stepladder, a mattress or other furniture. A low branch that seems harmless above an empty stair can become an obstacle when something awkward is being moved between floors.
Position also changes the view. An antler chandelier suspended in the middle of a tall void may look elegant from the entrance but overly dense when seen at eye level from the landing. A slight adjustment in height can improve both views, although the final fixing position and suspension must remain suitable for the individual product and ceiling.
Balance the fitting with period details
Ceiling roses, cornices, arches and stair balustrades already divide a hallway into strong lines. Antler lighting adds another irregular shape, so not every feature needs equal emphasis.
With an ornate ceiling rose, check whether the fitting leaves enough of the plasterwork visible to read as a separate detail. A dense centre pressed close to elaborate moulding can make both elements look muddled. Where the ceiling is plain, the same sculptural outline may tolerate a closer mounting.
In the same direction, From Old Cottage to New Barn Room: A Connected Lighting Plan offers useful ideas for choosing home lighting more confidently.
There is no need to imitate the date of the property. Rustic antler lighting can provide contrast in a Georgian townhouse or a modern extension, provided its scale acknowledges the architecture. Finish can make that connection quietly: dark tones may pick up ironmongery or stair rails, while softer natural shades can relate to timber flooring and furniture.
Light the route as well as the ceiling
A decorative fitting should not be expected to solve every lighting need. Branching forms may produce lively patterns of light and shadow, while a hallway also needs clear illumination at door locks, coat storage, steps and changes in floor level.
Supplementary lighting should answer those needs rather than simply adding more decoration. Wall lights can brighten a long stretch of wall and reduce the contrast between a glowing ceiling and a dark floor. A console lamp creates a useful lower layer if the table and cable remain outside the route. Near a mirror, position the light to illuminate the surrounding area without placing an exposed lamp directly in the reflected sightline.
Separate controls can help a hall adapt through the day. The main fitting may be useful for arrivals and cleaning, while a softer wall or table light is more comfortable late in the evening. If dimming is planned, confirm that the fitting, lamps and controls are compatible rather than assuming any combination will work.
Give the hall and landing a clear hierarchy
Hall and landing lights should feel related, but they need not match. Repeating antler chandeliers at every ceiling point can overwhelm a compact family home, particularly where all the fittings are visible at once.
For more consistent lighting throughout the home, the article How to Make Antler Lights Work in a British Home may also be helpful.
Choose one place for the branching silhouette to lead. In a generous stair hall, that may be the central void, supported by quieter ceiling lights at the entrance and landing. In a narrow terrace, the principal fitting may belong over the hall while a compact landing light repeats only its colour or finish. The connection is still apparent without filling every view with the same motif.
Make a full-size template before installation
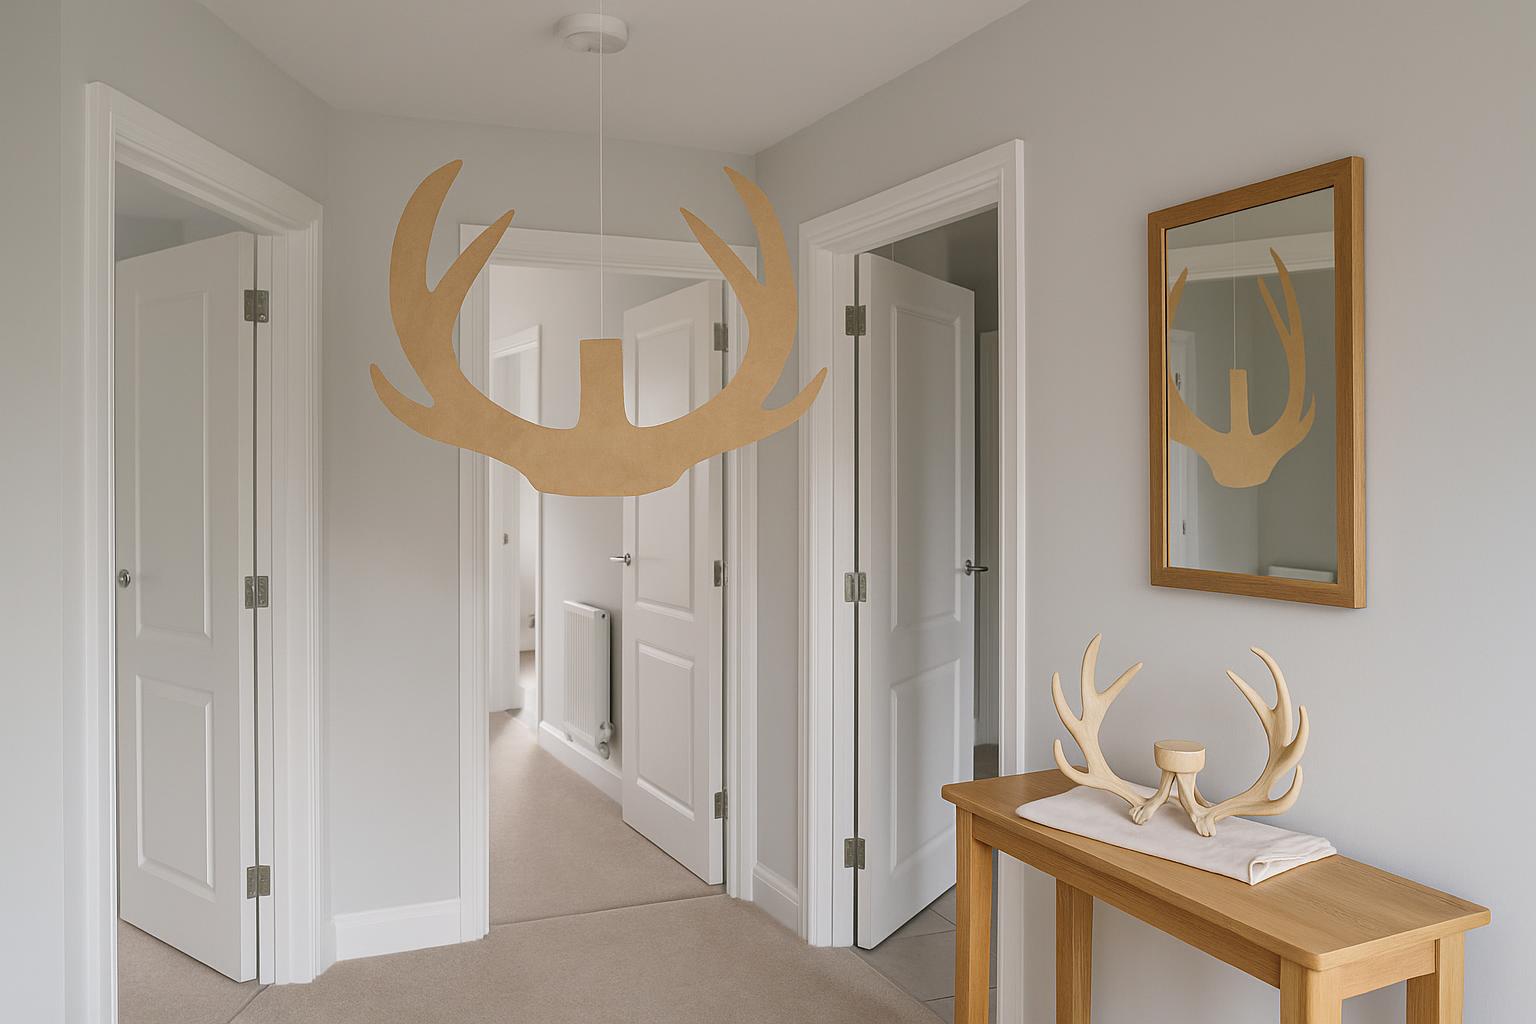
Product dimensions are easier to judge when translated into a physical outline. Cut a simple full-size profile from lightweight paper or card, or mark the width with two pieces of removable tape on a strip of paper. The template does not need to reproduce every branch; it only needs to show the maximum width and lowest point.

Hold or temporarily suspend it at the proposed position without attaching anything to the electrical point. Open every nearby door, walk the normal route and inspect it from the landing and adjoining rooms. Repeat the exercise after dark, when glazing, mirrors and bright lamps can make the silhouette appear busier.
Once the workable width and drop are clear, browse the antler lights collection using those limits rather than appearance alone. Check the dimensions, product information and installation instructions for the chosen fitting, then ask a suitably qualified electrician to assess the fixing point and carry out the installation.
A successful hallway light earns its place from more than one viewpoint. It gives the entrance character, remains comfortable to pass beneath and allows doors, stairs and architectural details to do their jobs without competition.